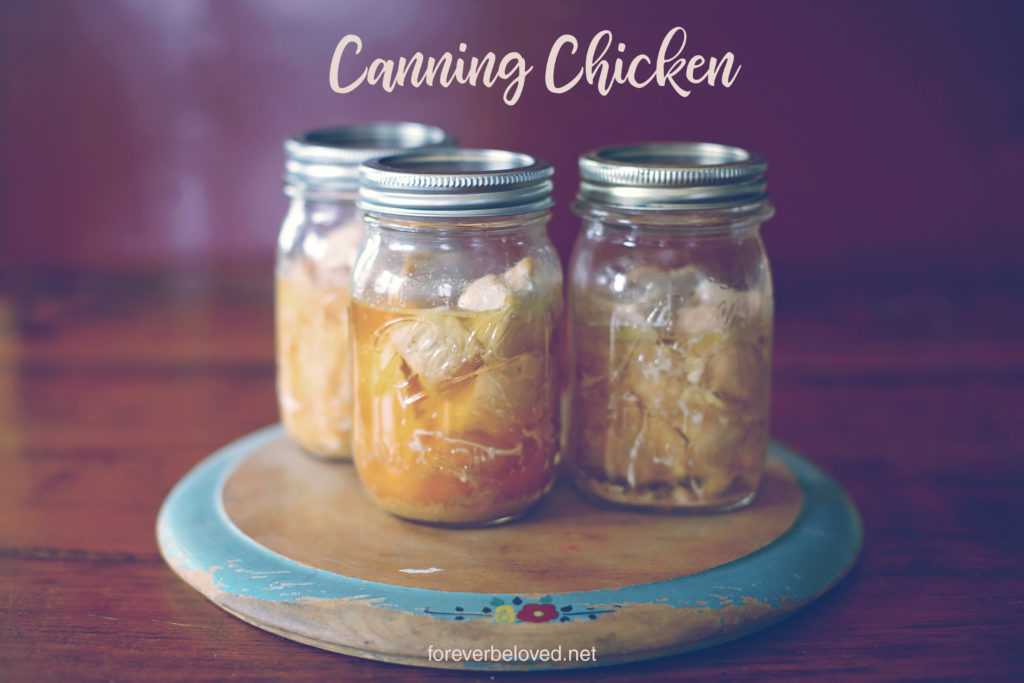
This week a local farm had a great sale on boneless, skinless chicken breast. They were selling them in 40 lb. boxes, so I bought 80 lbs. to can. This is my absolute favorite time to stock up, when a local market or farm is having a great sale! With the amazing sale on chicken, I knew it was time to get canning.
Home canned chicken is so easy and yummy. Every bite is tender and so full of flavor, not to mention quick and easy to use. I will never buy canned chicken from the store again! It is very moist and falls apart with the slightest pressure. It is not like crockpot chicken breasts that turn grainy and ironically dry after cooking. It is not like boiled chicken that can get rubbery. This is the perfect, moist, shredded chicken.
You can use canned chicken is any recipe that calls for cooked chicken. Think chicken enchiladas, chicken and dumplings, chicken gnocchi soup, chicken noodle soup, chicken salad sandwiches, buffalo chicken dip…the list could go on and on. And just think how easy dinner prep would be if you cut out the time of having to prepare the chicken beforehand!
With a big canning day ahead, I knew I had to bring y’all along!
First, I use a Presto 23-Quart Pressure Canner and Cooker. I love it, it’s easy to use and I’ve never had a single issue with it. It comes with an in depth instruction booklet full of recipes. I also purchased an extra rack to use in it. I purchased this Presto rack from Amazon. By having two racks, when I can with pints I can double stack them. I cannot speak on whether you can double stack without the rack, as I never tried it.
You first start with clean, sterilized jars. I run my jars through a cycle in the dishwasher to sterilize them. Being that my chicken is cold when I pack it in, I don’t keep the jars hot. I don’t want to take the chance of having broken jars in the canner. We all know what happens when you mix hot and cold.
I normally figure around 1 lb. of chicken fits in one pint. So gauge how many pints you will need by that. If you are canning 10 lbs. you’ll need 10 pint jars. I am canning 80 lbs. so I have 80 pint jars on hand.
Also I will need to can my chicken in batches. My canner, with the extra rack, will hold 18 pint jars. So I will need to do 5 batches in my canner. While time consuming, it’s worth every minute.
The process I’m describing below is called a raw pack, meaning I do not cook my chicken before I can it. I pack it into the jars raw.
I begin my preparing the chicken. I do like to cut it into chunks so it is already an edible size when it comes out of the jar and it comes out of the jars easier. I also don’t have to cut it later, I can just throw it into whatever I am cooking. The canned chicken will shred easily as you pull it out.
As I’m cutting the chicken into chunks, I’m also cutting off any bits of gristle, bone or veins they have on them. I save these little bits and put them in my freezer to use the next time I make homemade chicken broth.
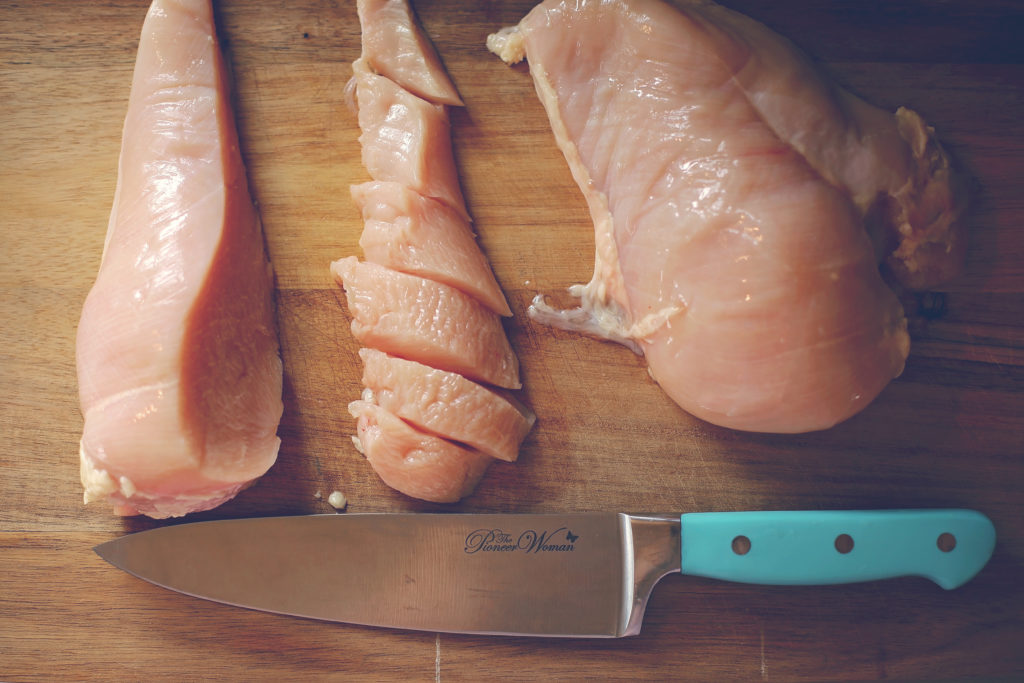
In the bottom of each jar, I put a 1/2 tsp of salt. I then pack the chicken chunks in on top. I fill the jars about half-way, then push it down and make sure all the nooks and crannies are filled in. Then packing more chicken chunks in on top.
Make sure you leave 1 1/4″ headspace between the chicken and the rim of your jar. I have learned not to fill the jars exactly 1 1/4″ from the top. I stop at maybe 1 1/2″ or so. I noticed that some of the juices come out of the jar during processing. If you under-pack the jar just a smidge it takes care of that problem.
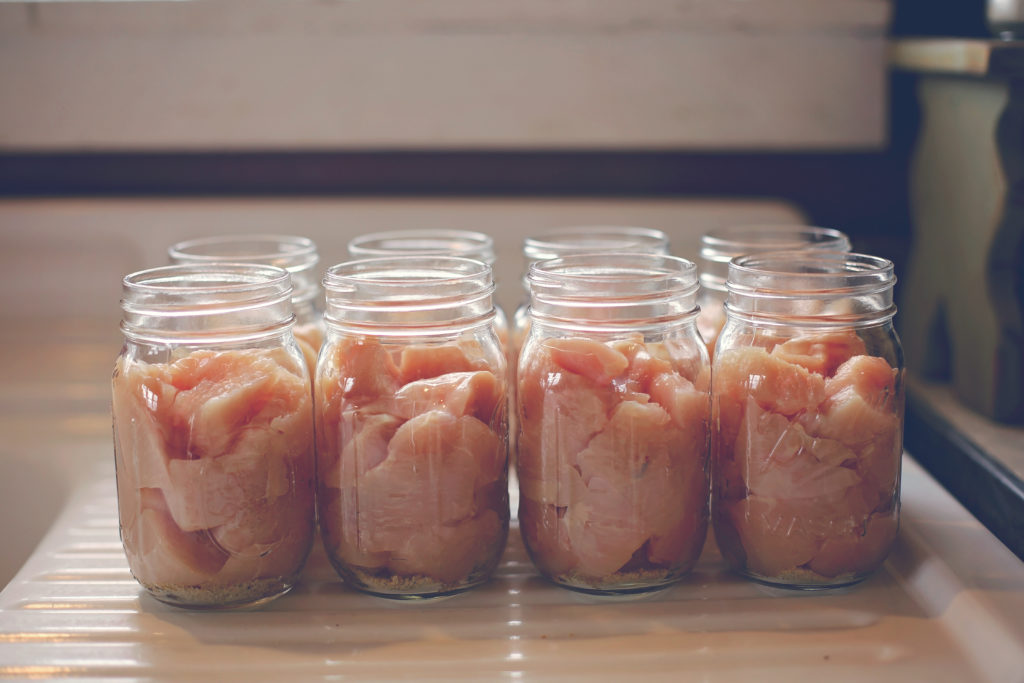
In canning, headspace is the amount of space you leave between the rim of the jar and whatever you’re filling it with. Each thing you can requires a different headspace. I have a funnel that also has markings on the side to measure headspace. Here is a little headspace chart to follow:
- Leave 1-inch headspace for low-acid foods, vegetables and meats.
- Leave 1/2-inch headspace for high-acid foods, fruits and tomatoes.
- Leave 1/4-inch headspace for juicers, jams, jellies, pickles, and relishes.
You don’t need to add any liquid to the chicken. When it cooks, it makes it’s own liquid. Real, fresh, yummy chicken broth!
Wipe the rim of the jar off. Never forget this step! Even when you’re using a funnel, you are bound to get something on the rim. And if the rim isn’t clean, it won’t seal properly. You don’t want to do all this hard work just to have your jars not seal.
Put your lids and rings on the jars. Since we are doing a “cold pack” for the chicken, I don’t heat mine up before placing them on the jars.
Also since we are doing a “cold pack”, I didn’t prep my pressure canner ahead of time. Being that my jars were still cold from putting cold chicken in them, I wanted to prevent my jars from breaking once the canning process started. I put 3 quarts of hot tapwater in the pressure canner and sat my jars down in. I gave them enough time to warm up a bit from the water before I even turned the burner on. Make sure to read your directions for your specific canner to see how much water they advise.
TIP: to keep your jars from being “spotty” you’ll want to add 2 tablespoons of white vinegar to the water.
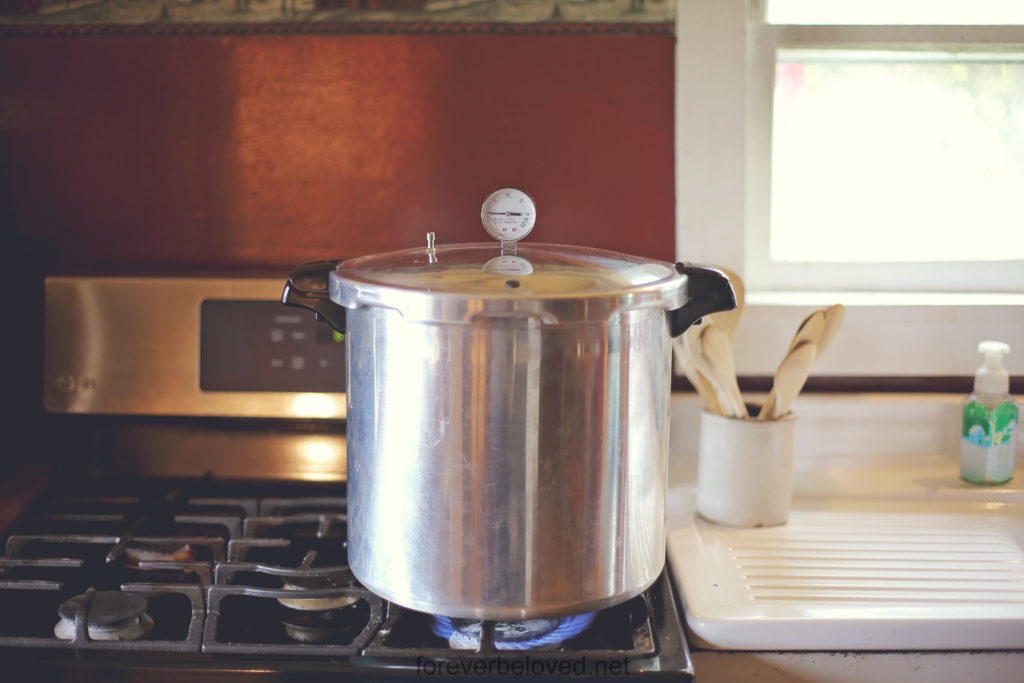
The first thing you need to do is vent your canner. Venting means getting rid of the steam inside the canner so you can build up pressure. To vent, you put your lid on and make sure it’s sealed (follow the manufacturers instructions for this as well) and turn the heat up to medium or medium/high. You DO NOT want your weight on yet. When steam is steadily coming out of the vent, set your timer for 10 minutes. Once the timer goes off, you’re ready for the next step.
Put your weight on the canner, being careful of the steam that’s coming out, and wait for it to come to pressure. Once it’s up to pressure, set your timer for the appropriate time below. Remember to only start the timer once your canner is up to pressure. Waiting for the canner to get up to pressure sometimes takes several minutes, and it will feel like time stands still. Just be patient, it will get there.
- 75 minutes at 15 lbs for pint jars (if you are under 1,000 ft. altitude, use 10 lbs)
- 90 minutes at 15 lbs for quart jars (if you are under 1,000 ft. altitude, use 10 lbs)
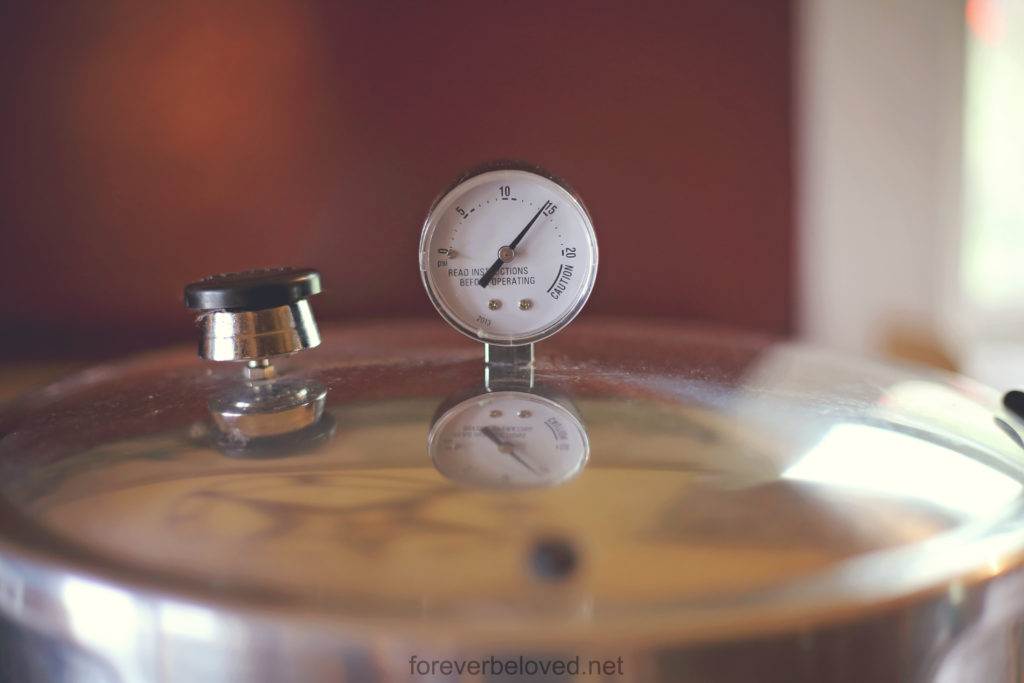
You may need to adjust the heat up or down during this time. If you see your pressure rising above what it should be, reduce the heat. If you see it falling below what it should be, raise your heat. I normally don’t leave my kitchen while I’m pressure canning, just so I can keep a close watchful eye on the pressure.
When your timer goes off, turn the stove off. Actually, turn the stove off and walk away. Go take a much deserved seat for a while. You HAVE to leave the lid on and allow the pressure canner to return to normal pressure. I just let mine sit for quite a while.
Once the pressure is down to normal you can remove the lid and take your jars out. I use the jar lifter to remove them. And I always set them on a kitchen towel then cover them with another towel. I don’t want them to cool down too quickly.
Do not disturb the jars as they cool. After the recommended 12 hours, you may wipe the jars off, test the seals, remove bands and date the lids with a permanent marker. I highly recommend dating the jars. If any of the lids have not sealed, you will want to place the jar in the fridge for immediate use. To know if it is not sealed before the 12 hour mark, look at the lid closely to see if it has flattened or turned concave on the top. If it has, it is sealed. If it is convex, it may not have sealed and I would store it in the fridge until you can manually test it by pressing the center of the lid and seeing if it flexes up and down when pressed.
Nothing is quite as satisfying after a long, exhausting day of canning than seeing all those jars full of food you prepared with love for your family. Give yourself a high-five! And sit back, take a rest and listen for that familiar ping coming from the kitchen!
If you are new to pressure canning, I highly suggest purchasing a book on it. There are some variables to consider, like altitude, and a book would be a great resource to get you familiar with pressure canning.
The canned chicken is stored on the shelf in the pantry for up to 2-5 years. No fridge or freezer needed. You don’t have to heat it up to eat it either. You can open it and eat it out of the jar if you wanted to, like tuna. Another great part about canned chicken is the liquid inside is now chicken broth you can use too! So many possibilities and my favorite part is canned chicken doesn’t take up any fridge or freezer space!
Keep watching the blog for more homesteading recipes. Coming up soon, canned chicken stock with all those bits of chicken I have waiting in the freezer for me.




 I’m Jim Bloom, a 45 years old husband to Renae and father three awesome boys…Caleb, Noah and Josh. I’m a self employed Graphic Designer / Signs and Vehicle Graphics.