• Meet Me
  • Sponsor
  • Testimony
  • Print Shoppe
  • Recipes

Forever Beloved

Faith, Love & Truth

November 26, 2019

Blogvember Day Twenty-Six | Family Recipe

For a complete list of The Blogvember Challenge prompts, click HERE!

November 26 – Share a family recipe (but make sure to ask Mama first).

When I was growing up I was blessed to grow up in a family of farmers. I not only have a Mama that grew her own food, but canned it as well. Not only my Mama, but all the women in my family. Many family gatherings would include a circle of women chatting about their recent crops and what they were planning on canning with them.

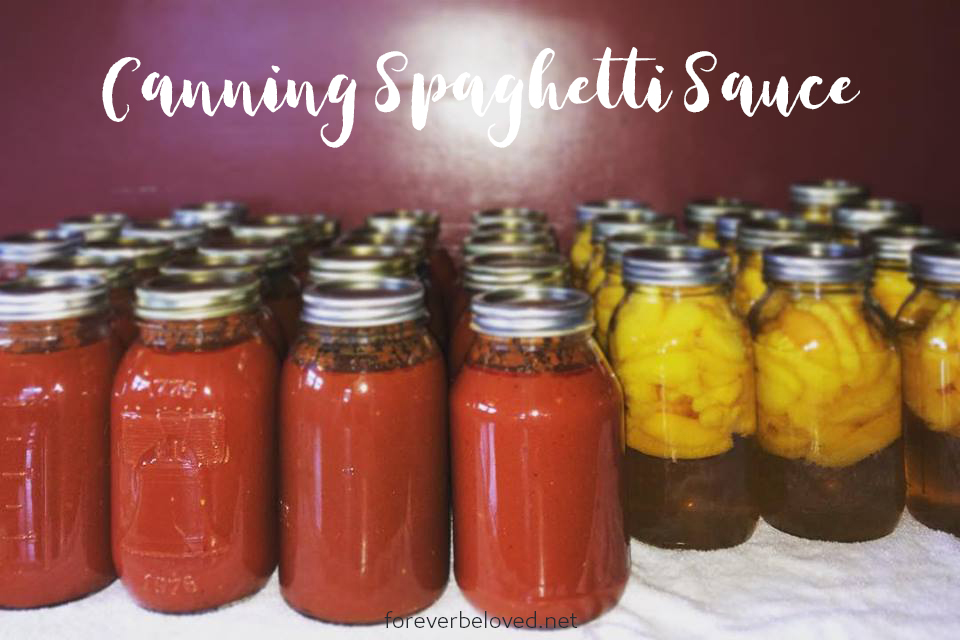
This is the spaghetti sauce recipe that my Grandma, Mama and now myself use. It’s absolutely our favorite.  Store bought sauce doesn’t even compare to it.

Spaghetti Sauce
  • 1⁄2 bushel tomatoes
  • 2 bulbs garlic
  • 4 hot peppers
  • 3 lb. onions
  • 1⁄2 cup salt
  • 1 1⁄2 cup sugar
  • 3 tbsp italian seasoning
  • 8 cans tomato paste
  • 2 cups oil

INSTRUCTIONS:

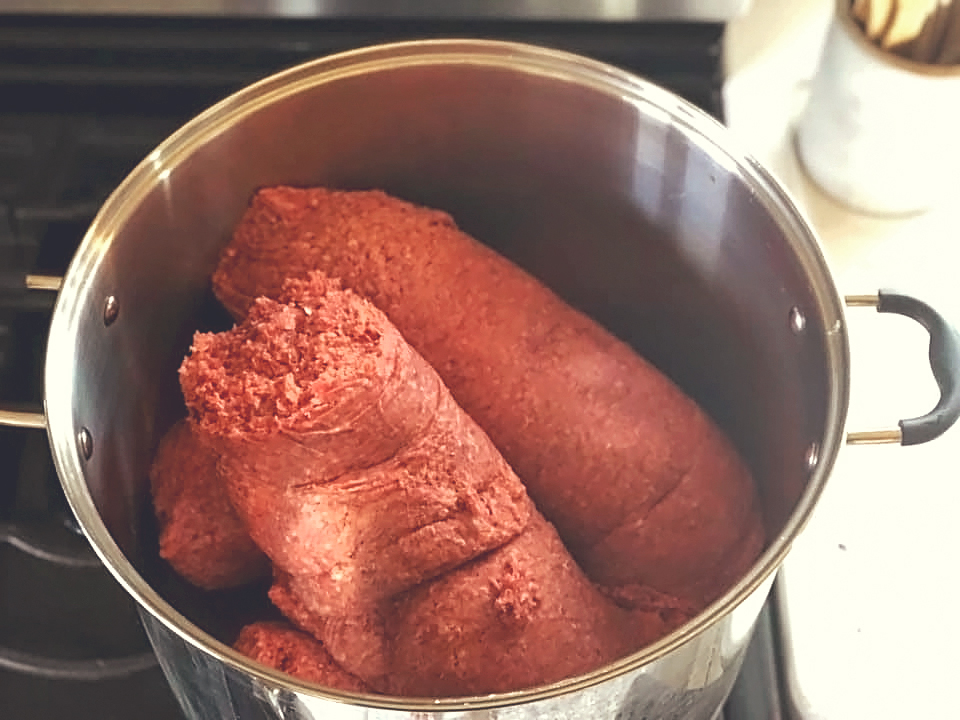
Put everything into a blender and puree. I cut the stem part off the tomatoes, quarter them and put skins and all into the blender. I also leave the seeds in two of the hot peppers to add some heat.

Bring it to a boil and cook until thick. I cook mine for 4-5 hours, stirring occasionally.

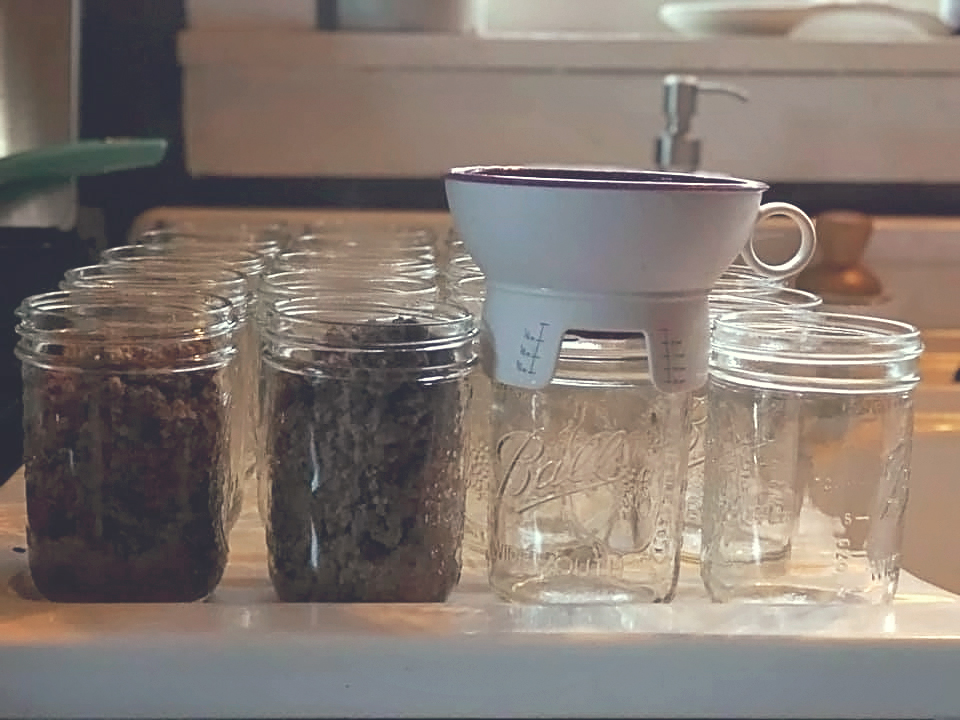
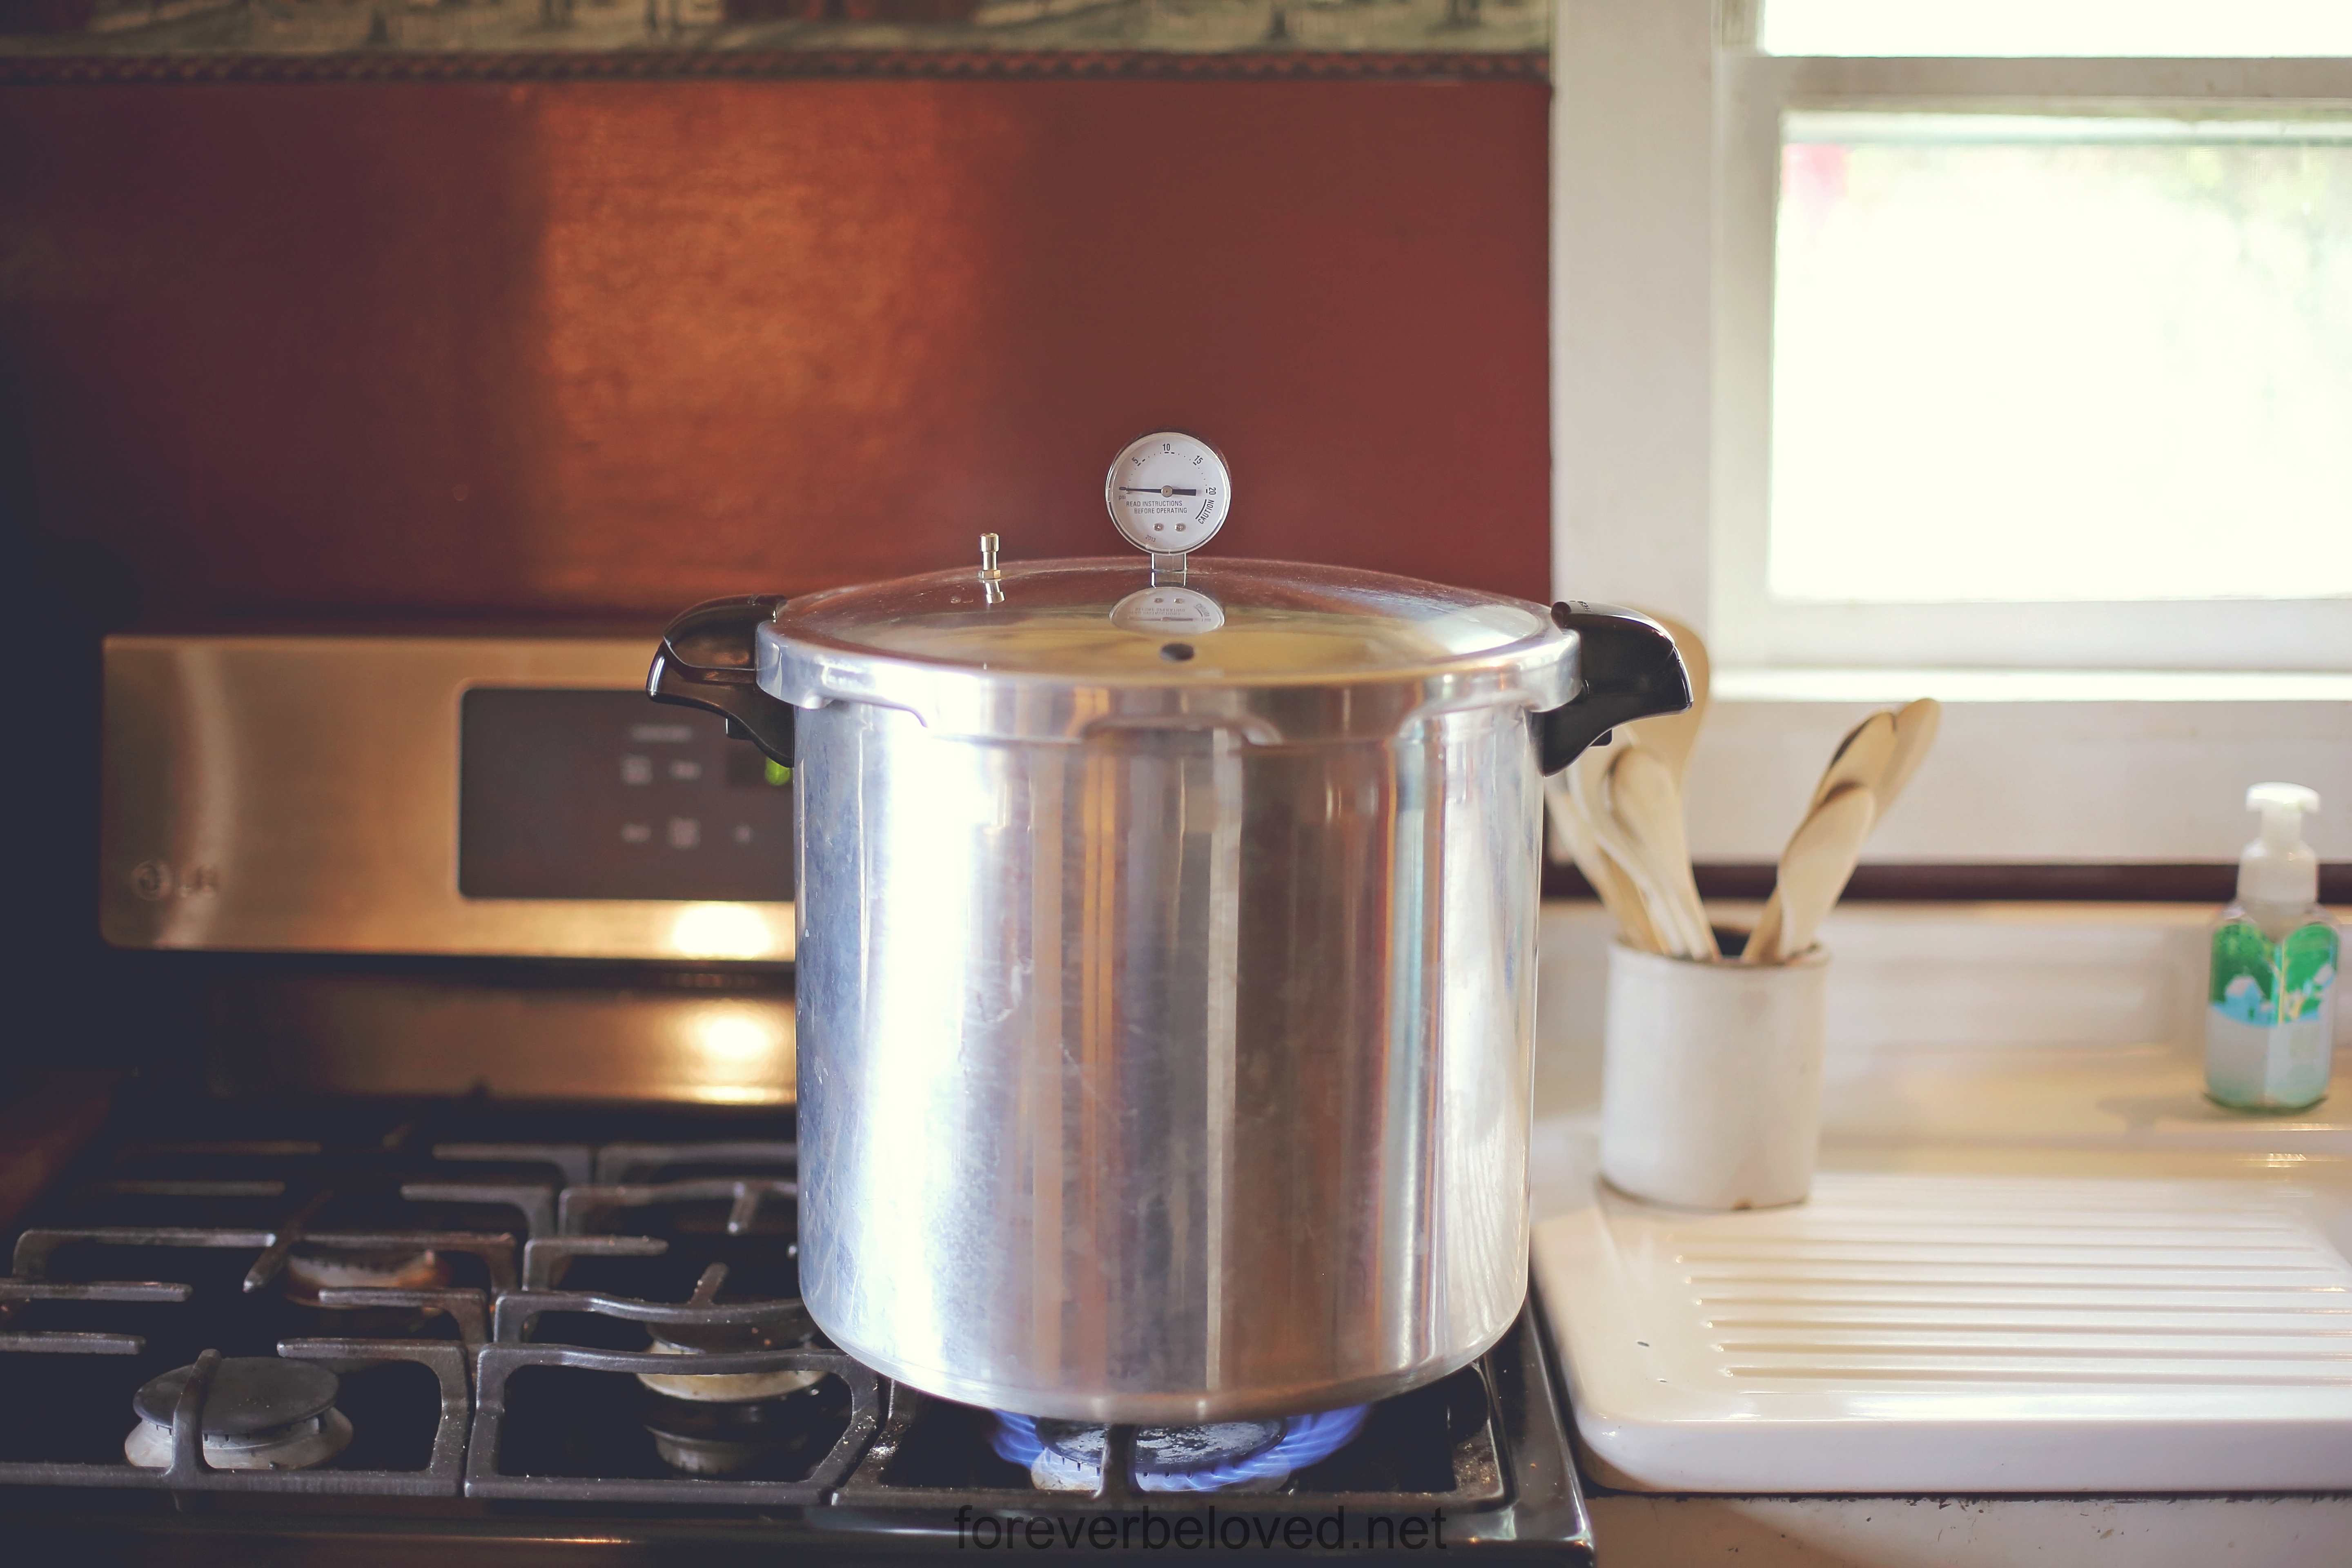
To can, pour into jars. Place rings and lids on jars, making it fingertip-tight. Place on a cloth-covered or wood surface, several inches apart, until cool.

If you try this recipe, I’d love to hear how you like it!  I can’t wait to read all your family recipes today.

You are invited to the Inlinkz link party!

Click here to enter


Filed in: blogvember, recipes • by Amy • Leave a Comment

[jetpack-related-posts]

October 19, 2019

Canning Ground Beef

If you are like me, remembering to pull ground beef out of the freezer in the morning to thaw out during the day is a chore.  I guess more so figuring out what I’m cooking for dinner first thing in the morning is the chore.  And while I realize I could just cook it from frozen, the meat on the outside cooks faster than the center as it frying. You end up with some meat over cooked before the rest is ready.

This week our local hometown grocery store had their bi-annual meat sale.  This is my absolute favorite time to stock up!  They had ground beef for $2.28 a pound.  I knew I couldn’t pass up that great price but I also know my freezer is jam-packed and can’t hold another thing.  The only solution was to can it.

Canned ground beef is always ready to use, no waiting for the frozen meat to thaw out!  Just open a jar and your meat is ready to use. It’s already pre-cooked you just need to heat it up.  Another plus is it never gets freezer burned!

There are three different ways to can ground beef, so I would suggest choosing whichever works best for you.  You can raw pack it, dry can it or pack it in water (or broth).  I’ll explain these three methods below.

Raw pack // For this method you pack your jars with uncooked ground beef and can it similarly to how I can raw chicken.  While in the pressure canner, the ground beef will produce it’s own broth in the jar.

Water pack // For this method you cook your ground beef either partially or fully, pack it into jars and cover it with boiling water.

Dry pack // For this method you cook your ground beef either partially or fully, pack it into jars and that’s it.  I do have to note that dry canning ground beef is not recommended by the National Center for Home Food Preservation.  With that being said, it has worked out just fine for me.

To choose which method is best for you, think about what you want to use your ground beef for in the future.  And understand that if you pack it in water, no amount of frying is ever going to get your ground beef browned or crispy.

I decided dry pack was the best method for us to use.  And with a big canning day ahead, I knew I had to bring y’all along!

(NOTE: Be sure to read your Instruction Manual before operating your Pressure Canner.  I’m Not responsible for death… only for delicious food)

First, let’s go over what pressure canner I use.  I have a Presto 23-Quart Pressure Canner and Cooker.  I love it, it’s easy to use and I’ve never had a single issue with it.  It comes with an in-depth instruction booklet full of recipes.  I also purchased an extra rack to use in it.  I purchased this Presto rack from Amazon. By having two racks, when I can with pints I can double stack them.  That saves me so much time y’all!  I cannot speak on whether you can double stack without the rack, as I never tried it.

You want to start with clean, sterilized jars. Also inspect your jars for chips in the rim and hairline cracks and discard damaged ones.  Inspect the metal rings and discard any with dents or rust.  I run my jars through a cycle in the dishwasher to sterilize them.  I let them in my dishwasher while I prepared my ground beef to keep the jars hot.

As for judging how many jars you’ll need, a good rule of thumb is you can fit 1 pound of meat in one pint.  My canner holds 16 pints double stacked, so I knew I needed 16 pounds of meat and 16 pint jars.

While my jars are staying hot in the dishwasher it was time to start cooking my meat.  I wasn’t really interested in cooking it in small batches, I wanted to get it all cooked at once.  So I pulled out my big kettle.  I dumped all 16 pounds in at once and began cooking it.  I cooked it on a lower setting to prevent it from sticking.  It took around 2 hours to have it cooked to the point where I wanted it.  You do not have to fully cook it, as the meat will finish cooking in the jars in the canner.

Once the meat was cooked I pulled my jars out and set them on my counter beside my stove.  You can add your spices at this point, putting them in the bottom of each jar.  I took some time to think over how I wanted to flavor this meat.  I didn’t want anything too pronounced as it will be used for everything from tacos to spaghetti sauce.  I settled on a 1/2 tsp of Beef Broth Base from Orrington Farms in each jar.  Regardless of what recipe I use it in, extra beef flavor is a good thing!

I then began straining my meat and packing it into the jars.  I filled the jar halfway, packed the meat down and then finished filling them.  Make sure you leave 3/4″ to 1″ headspace between the meat and the top of the jar.

In canning, headspace is the amount of space you leave between the top of the jar and whatever you’re filling it with.  Each thing you can requires a different headspace.  I have a funnel that also has markings on the side to measure headspace.  Here is a little headspace chart to follow:

  • Leave 1-inch headspace for low-acid foods, vegetables and meats.
  • Leave 1/2-inch headspace for high-acid foods, fruits and tomatoes.
  • Leave 1/4-inch headspace for juicers, jams, jellies, pickles, and relishes.

I did not add any liquid to my jars.  I knew when the meat continued cooking in the pressure canner it would create it’s own liquid.

Wipe the rim of the jar off.  Never forget this step!  Even when you’re using a funnel, you are bound to get something on the rim.  And if the rim isn’t clean, it won’t seal properly. You don’t want to do all this hard work just to have your jars not seal.  Wetting a paper towel with vinegar and using that to wipe off the jar will also ensure all the grease from the meat is off the rim.

Put your lids and rings on the jars.  To make certain I get a good seal, I heat my lids up on the stove in a pot of hot water.  I use a magnetic lid lifter to remove them from the hot water.

I had my Presto canner on the stove with the recommended 3 quarts of water in it.  My jars were hot, my meat was hot so I went ahead and turned my burner on to heat up the canner and water within it.  Make sure to read your directions for your specific canner to see how much water they advise.

TIP: to keep your jars from being “spotty” you’ll want to add 2 tablespoons of white vinegar to the water.  I also add white vinegar to the pot of water my lids are in to keep them from being spotty.

The following instructions are for a dial gauge canner, which is what I have.  If you have a weighted-gauge or dual gauge canner, please follow your instruction manual!  A dial gauge has a needle that moves along a numbered scale to indicate the pressure inside the canner.  A weighted gauge fits over the air vent tube.  It permits pressure in the canner to rise to the desired point and then releases excess steam by “jiggling” or “rocking” to keep the pressure from going higher.  A duel gauge canner has both a dial and weights.

The first thing you need to do is vent your canner.  Venting means getting rid of the steam inside the canner so you can build up pressure.  To vent, you put your lid on and make sure it’s sealed  (follow the manufacturers instructions for this as well) and turn the heat up to medium or medium/high.  You DO NOT want your weight on yet.  When steam is steadily coming out of the vent, set your timer for 10 minutes.  Once the timer goes off, you’re ready for the next step.

Put your weight on the canner, being careful of the steam that’s coming out, and wait for it to come to pressure.  Once it’s up to pressure, set your timer for the appropriate time below.  Remember to only start the timer once your canner is up to pressure.  Waiting for the canner to get up to pressure sometimes takes several minutes, and it will feel like time stands still.  Just be patient, it will get there.

  • 75 minutes at 11 lbs for pint jars (this could change depending on your altitude)
  • 90 minutes at 11 lbs for quart jars (this could change depending on your altitude)

You may need to adjust the heat up or down during this time.  If you see your pressure rising above what it should be, reduce the heat.  If you see it falling below what it should be, raise your heat.  I normally don’t leave my kitchen while I’m pressure canning, just so I can keep a close watchful eye on the pressure.

When your timer goes off, turn the stove off.  Actually, turn the stove off and walk away.  Go take a much deserved seat for a while.  You HAVE to leave the weight and lid on and allow the pressure canner to return to normal pressure.  I just let mine sit for quite a while.

When you remove your canner lid raise the farthest edge first to protect your face and arms from steam.

Yay y’all, you now have canned ground beef!  Time to take your jars out of the canner.  Grab each jar with a jar lifter, if there is water on the top of the jar tip it to the side and pour the water off.  I always transfer mine to the kitchen table.  I set them on a kitchen towel then cover them with another towel.  I don’t want them to cool down too quickly.

Do not disturb the jars as they cool.  After the recommended 12 hours, you may wipe the jars off, test the seals, remove bands and date the lids with a permanent marker.  I highly recommend dating the jars.  I also write on them what is inside.  You think you’ll remember and for sure know what is inside but when you get as many jars of different items in your pantry as I do, it can easily get confusing.  If any of the lids have not sealed, you will want to place the jar in the fridge for immediate use.  To know if it is not sealed before the 12 hour mark, look at the lid closely to see if it has flattened or turned concave on the top.  If it has, it is sealed.  If it is convex, it may not have sealed and I would store it in the fridge until you can manually test it by pressing the center of the lid and seeing if it flexes up and down when pressed.

Nothing is quite as satisfying after a long, exhausting day of canning than seeing all those jars full of food you prepared with love for your family.  Give yourself a high-five!  And sit back, take a rest and listen for that familiar ping coming from the kitchen!

If you are new to pressure canning, I highly suggest purchasing a book on it.  There are some variables to consider, like altitude, and a book would be a great resource to get you familiar with pressure canning.

For best eating quality and nutritive value, use ground beef within 3 years.  It’s still good for much longer, some have eaten their beef at 10+ years, but optimal nutrition value is within 3 years.


Filed in: homesteading, recipes • by Amy • 1 Comment

[jetpack-related-posts]

April 25, 2018

Dehydrating Strawberries

While I have always been comfortable canning foods, dehydrating was a different story.  Up until this point in time, my experience in dehydrating put me in the intermediate category. I could proudly claim dried herbs and venison jerky, but that was as far as my dehydrating experience went.  But a recent Facebook post peaked my interest, claiming dehydrated strawberries tasted just like Twizzlers.  Over the following days I couldn’t stop thinking about and knew I had to try it.

My dehydrator is a smoke-colored Ronco brand, circa 1993, sold in one of those fabulous early 90s infomercials.  The infomercial even included a shout out for that fabulous spray on hair for bald spots.  Basically spray paint for your head.  My father-in-law gave me this dehydrator years ago, and with not really having much experience with it I just packed it away.

My husband and I were at our local grocery store this week, and they had strawberries on sale 2 lbs. for $5.  As soon as I saw them, I knew I would quickly be getting that dehydrator out of the closet and putting it to use!

First I washed the fruit very well.  You could use an all natural produce wash if you want, I just used water for mine.  You don’t need to dry them, since they’ll dry in the dehydrator anyway.  Just realize working with dry fruit is easier and less messier than working with wet fruit.  Cut the stems off of each strawberry and set them aside.  If you have chickens (or a rabbit that lives in your house) they love these strawberry tops!

While some recommend blanching your strawberries before dehydrating them.  Don’t waste your time.  It is totally unnecessary.  Also when you water-blanch you will lose water-soluable vitamins.

Laying the strawberries on their sides and slice them.  When slicing the strawberries, the slices should be as uniform in thickness as possible so that they dry evenly.  The slices should be 1/4″ for thin pieces or 3/8″ for thicker piece.  Lay the slices on the dehydrator trays in a single layer.  The end pieces should be laid with skin side down.  Make sure to place them far enough apart so they don’t touch or overlap.  You want to allow air circulation.  You should leave at least 1/4 inch space around the food pieces.

Some of the strawberry slices may be small and would easily fall through the tray as they shrink.  My dehydrator came with an insert that I can put underneath the fruit to prevent them from falling through.  If yours doesn’t have an insert, I would recommend checking the website of the manufacturer that made your food dehydrator and ordering mesh trays.

Allow the strawberries to dehydrate for 8-18 hours.  My dehydrator has a single heating element in the bottom, which means rotating the trays often is a must.  The strawberries are done when you squeeze them and there is very little “squish” left.  Since this was my first time dehydrating strawberries, it was a bit of trial and error for me.

If your slices aren’t perfectly even in thickness, as mine obviously weren’t, you may find that some strawberries dehydrate faster than others.  Just remove the ones that are finished and keep dehydrating the ones that are not.  Most of my strawberries were done in around 15 hours, but some of the bigger pieces had to go for around 24 hours.  I recommend tasting as you go until you get to your desired doneness.

When they are done, you will have dehydrated strawberries and feel pretty accomplished.  I was shocked how sweet they are.  And yes, they absolutely taste like Twizzlers!

Filed in: homesteading, recipes • by Amy • Leave a Comment

[jetpack-related-posts]
  • « Previous Page
  • 1
  • 2
  • 3
  • 4
  • 5
  • …
  • 15
  • Next Page »

Search

Categories

Blog Archive

Copyright © 2026 · Theme by Blog Pixie